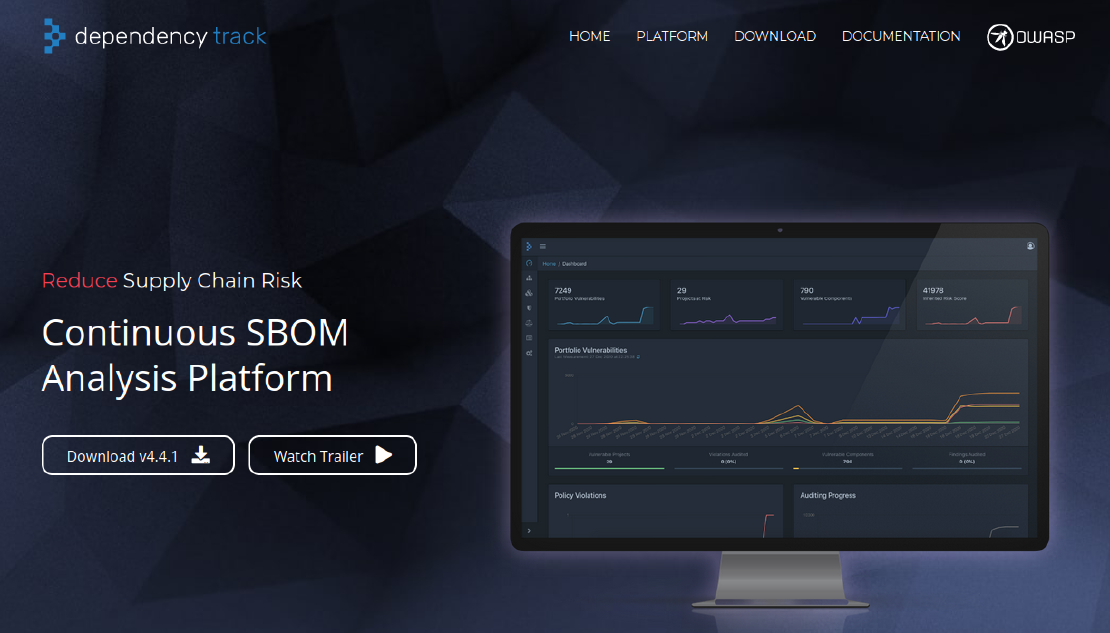
Dependency Track - Continuous SBOM Analysis Platform
Unleash the power of Dependency Track: safeguarding your software with continuous SBOM analysis

For many years now, our software is composed of libraries and components, mostly open source. At least for organizations, the question is what’s in your software supply chain and how to keep track of possible upstream vulnerability in each of your dependencies of each of your applications.
There are tools to help you monitor your “software supply chain security” for example Github dependabot or OWASP Dependency Track .
We don’t want to go too much in the details here, how OWASP Dependency Track works. Please see our previous article for a short overview.
There is a GitHub Action in the marketplace that aims to do both steps and more, but it currently lacks support for Gradle, so we can not use it for all our projects. So we fiddled around with gradle tasks that did the upload. After some time we decided to build our own GitHub Action, that focuses solely on the upload of the SBOM.
Only after that we got aware of this “official” github action sbom upload action , that does exactly what we are doing. So you can decide which one to use :-)
You can build custom Github Action either using JavaScript, as Docker Container or combine workflow steps in a Composite Action.
JavaScript actions can run directly on a runner machine, and separate the action code from the environment used to run the code. Using a JavaScript action simplifies the action code and executes faster than a Docker container action.
Docker container actions can only execute on runners with a Linux operating system. Self-hosted runners must use a Linux operating system and have Docker installed to run Docker container actions.
We felt that the JavaScript Action would be the most appropriate solution for our simple problem.
Github has an excellent tutorial for building JavaScript GitHub Actions, so we only want to outline the necessary steps and add some learnings that we had when following the tutorial.
Install node, create a repo and clone it as described .
You will have to commit your node_modules along with your code and config, so please don’t overdo
the excluded dirs in your .gitignore! Don’t use a generated .gitignore for node, because that definitely will
cause problems.
In the file action.yaml you can describe, which inputs and outputs the action should have.
name: 'OWASP Dependency Tracker Upload GitHub Action'
description: 'Uploads a generated BOM to your Dependency Tracker Instance'
inputs:
  serverUrl:
    description: 'full qualified dependency track server url'
    required: true
  apiKey:
    description: 'your dependency track api-key'
    required: true
  bomFile:
    description: 'bom-file including path'
    required: true
  projectUUID:
    description: 'project uuid'
    required: true
  projectName:
    description: 'name of the project'
    required: true
  projectVersion:
    description: 'project version'
    required: true
  autoCreate:
    description: 'should the project be automatically created if it does not exist'
    required: false
    default: false
outputs:
  statusCode:
    description: 'status code of upload'
runs:
  using: 'node16'
  main: 'index.js'
With this file in place we are done with configuration.
Github provides the actions toolkit , which is a collection of Node.js packages that allow you to quickly build JavaScript actions and does some of the heavy lifting for us.
The package @actions/core provides an interface to the workflow commands, the input and output variables,
exit statuses and debug messages.
There is also an @actions/github package that provides an authenticated Octokit REST client and access to GitHub Actions
contexts so that you can for example create comments in issues and other useful things.
We’ve just added the @actions/core package:
npm install @actions/core
For now, this should do.
You can now start to write your action’s code in plain JavaScript with commonjs
modules.
This is no big deal, but you have to select your libraries accordingly, e.g. we had to use node-fetch-commonjs
instead of node-fetch.
Our action just gets the inputs, that we have declared in action.yaml, tries to read the SBOM-file from
the specified location, constructs the post-request and tries to upload the SBOM.
On every error, the action is marked as failed (we might add a flag to configure this at a later point in time).
// GitHub core library
const core = require('@actions/core');

...

// Get input as declared in action.yaml
const serverUrl = core.getInput('serverUrl');
const apiKey = core.getInput('apiKey');
const bomFile = core.getInput('bomFile');
const projectUUID = core.getInput('projectUUID');
const projectName = core.getInput('projectName');
const projectVersion = core.getInput('projectVersion');
const autoCreate = core.getInput('autoCreate');

const nameVersion = projectName !== "" && projectVersion !== "";

if (projectUUID === "" && !nameVersion) {
  throw new Error('One of project OR (projectName and projectVersion) must be set');
}
if (project !== "" && nameVersion) {
  throw new Error('Either project XOR (projectName and projectVersion) must be set');
}
...
// process
...
// output as declared in action.yaml
core.setOutput("statusCode", statusCode);
...
// build failure
core.setFailed("Some error");
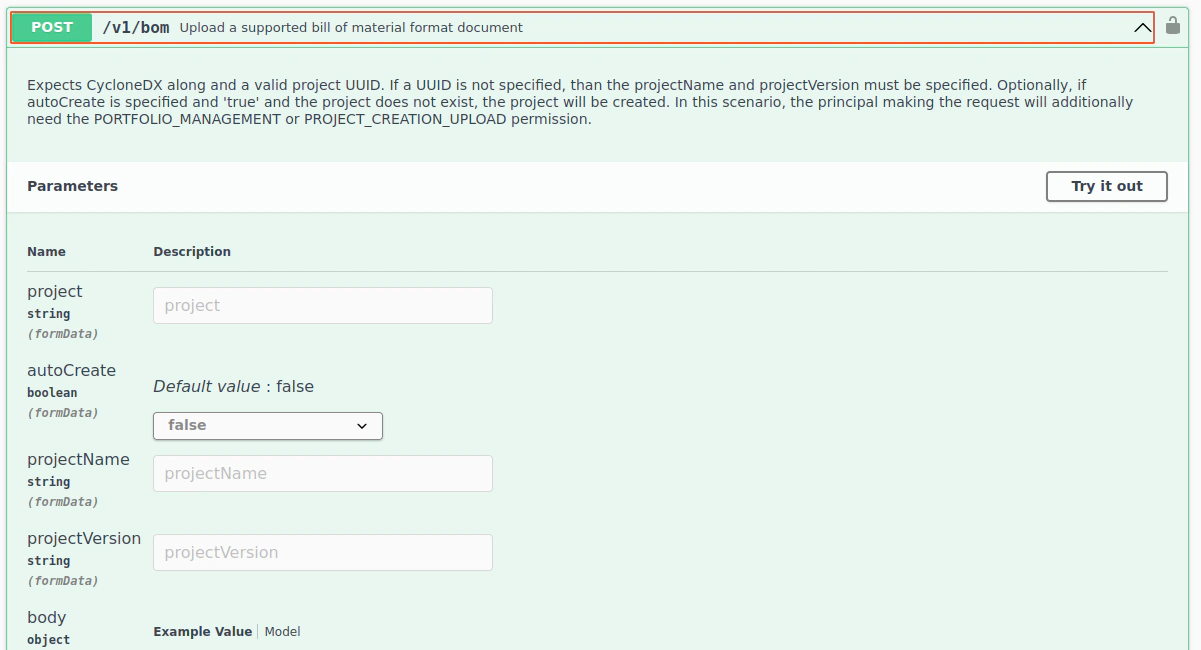
The main “thing” we have to do is to upload the SBOM-file from the specified location using the dependency track api-endpoint, which is documented by the Swagger-Spec, usage examples are also available.

With the help of the formdata-node and formdata-node/file-from-path libraries and providing the
configured api-key read from the inputs, the POST is accepted by the dependency track instance.
      const meta = new Map();
      meta.set('X-API-Key', apiKey);
      const headers = new fetch.Headers(meta);

      const formData = new FormData.FormData();
      formData.set('bom', await fileFromPath(bomFile), path.basename(bomFile));
      formData.set('autoCreate', autoCreate);
      if (projectUUID !== "") {
        formData.set('project', projectUUID)
      } else {
        formData.set('projectName', projectName)
        formData.set('projectVersion', projectVersion)
      }

      const response = await fetch(serverUrl,
        {
          method: 'POST',
          headers: headers,
          body: formData,
        });

      const statusCode = response.status;
      core.setOutput("statusCode", statusCode);
You can view the full source in our Github Repository .
actBy now, the action “should” work, but how can we be sure without having to push it? Fortunately, you can
run almost every pipeline locally by using act
.
The only prerequisite is docker, so you should be able to install it right away. See installation-methods
for the different possibilities, e.g. you can use go:
go install github.com/nektos/act@latest
Now you can use act in your github-action-workspace.
To use a local pipeline, we first have to define a workflow. There are some tricks involved,
especially that you have to use a checkout, see here
,
to be able to use the reference to your local action ./.
This is an example .github/workflows/deptrack.yml, where you just have to fill in your <your-dep-track-host>
and <your-deptrack-api-key>, that you configure in your dependency Track instance “AccessManagement/Teams/API Keys”.
Please note that you need BOM_UPLOAD and VIEW_PORTFOLIO permissions.
on: [push]
jobs:
  deptrack_test:
    name: Local test with act
    runs-on: ubuntu-latest
    steps:
      # To use an action in the root directory, you have to checkout first
      - name: Checkout
        uses: actions/checkout@v3
      - name: Upload bom to dependency-track instance
        uses: ./
        id: deptrack
        with:
          serverUrl: 'https://<your-dep-track-host.org>/api/v1/bom'
          apiKey: '<your-deptrack-api-key>'
          bomFile: 'build/reports/bom.xml'
          projectName: 'myproject'
          projectVersion: '1.0.0'
          autoCreate: true
      - name: StatusCode
        run: echo "Upload returned ${{ steps.deptrack.outputs.statusCode }}"
For the test of our local GitHub Action, we need a build/reports/bom.xml that you can copy from one of your projects.
So, now we are ready to run your pipeline with act.
To list the available jobs, use act -l. In this case you’ll get this output:
Stage  Job ID         Job name             Workflow name  Workflow file  Events
0      deptrack_test  Local test with act  deptrack.yml   deptrack.yml   push
If there are more workflows, jobs and you just want to run one, use act -j <Job ID>.
There is only one job that can be run, so act without flags will do exactly that. Here is the output:
[deptrack.yml/Local test with act] 🚀  Start image=ghcr.io/catthehacker/ubuntu:act-latest
[deptrack.yml/Local test with act]   🐳  docker pull image=ghcr.io/catthehacker/ubuntu:act-latest platform= username= forcePull=false
...
[deptrack.yml/Local test with act] ⭐  Run Checkout
[deptrack.yml/Local test with act]   ✅  Success - Checkout
[deptrack.yml/Local test with act] ⭐  Run Upload bom to dependency-track instance
[deptrack.yml/Local test with act]   🐳  docker exec cmd=[node /home/someuser/deptrackupload-github-action/index.js] user= workdir=
| POSTing to https://your-dep-track-host.org/api/v1/bom!
|
[deptrack.yml/Local test with act]   ⚙  ::set-output:: statusCode=200
[deptrack.yml/Local test with act]   ✅  Success - Upload bom to dependency-track instance
[deptrack.yml/Local test with act] ⭐  Run StatusCode
[deptrack.yml/Local test with act]   🐳  docker exec cmd=[bash --noprofile --norc -e -o pipefail /var/run/act/workflow/2] user= workdir=
| Upload returned 200
[deptrack.yml/Local test with act]   ✅  Success - StatusCode
That’s it! You have just successfully run your GitHub Action locally. If you provided your correct url and api-key you can now check, if the SBOM has been uploaded correctly and the project shows in the dependency check dashboard.
It is very helpful to document, of course, what your action does and how it is configurable.
Please note, that you have to make your repo public, in order to be able to use your action from another repo, even if the repo is within the same organization.
You should Tag your action with v1, so that you can now reference our
new action, e.g. attempto-Lab/dependencytrackupload-github-action@v1.
Here is an example workflow:
jobs:
  uploadBOM:
    name: Dependency-Track
    runs-on: ubuntu-latest
    steps:
      - name: Upload BOM
        uses: attempto-Lab/dependencytrackupload-github-action@v1
        with:
          serverUrl: 'https://<your-dependency-track-host>/api/v1/bom'
          apiKey: ${{ secrets.DEPENDENCYTRACK_APIKEY }}
          bomFile: 'build/reports/bom.xml'
          projectName: ${{ github.repository }}
          projectVersion: ${{ github.ref_name }}
          autoCreate: true
We have seen how easy it is to build, test and publish a GitHub Action using JavaScript. The code is available in our Github Repository .
Of course, there is some room for improvement: we would like to implement the action with TypeScript and
bundle all dependencies in one JavaScript-File, e.g. using Webpack, instead of checking in node_modules.

Unleash the power of Dependency Track: safeguarding your software with continuous SBOM analysis

Unveiling the hidden risks in your software supply chain: fortify your code by harnessing the power of SBOMs and automation